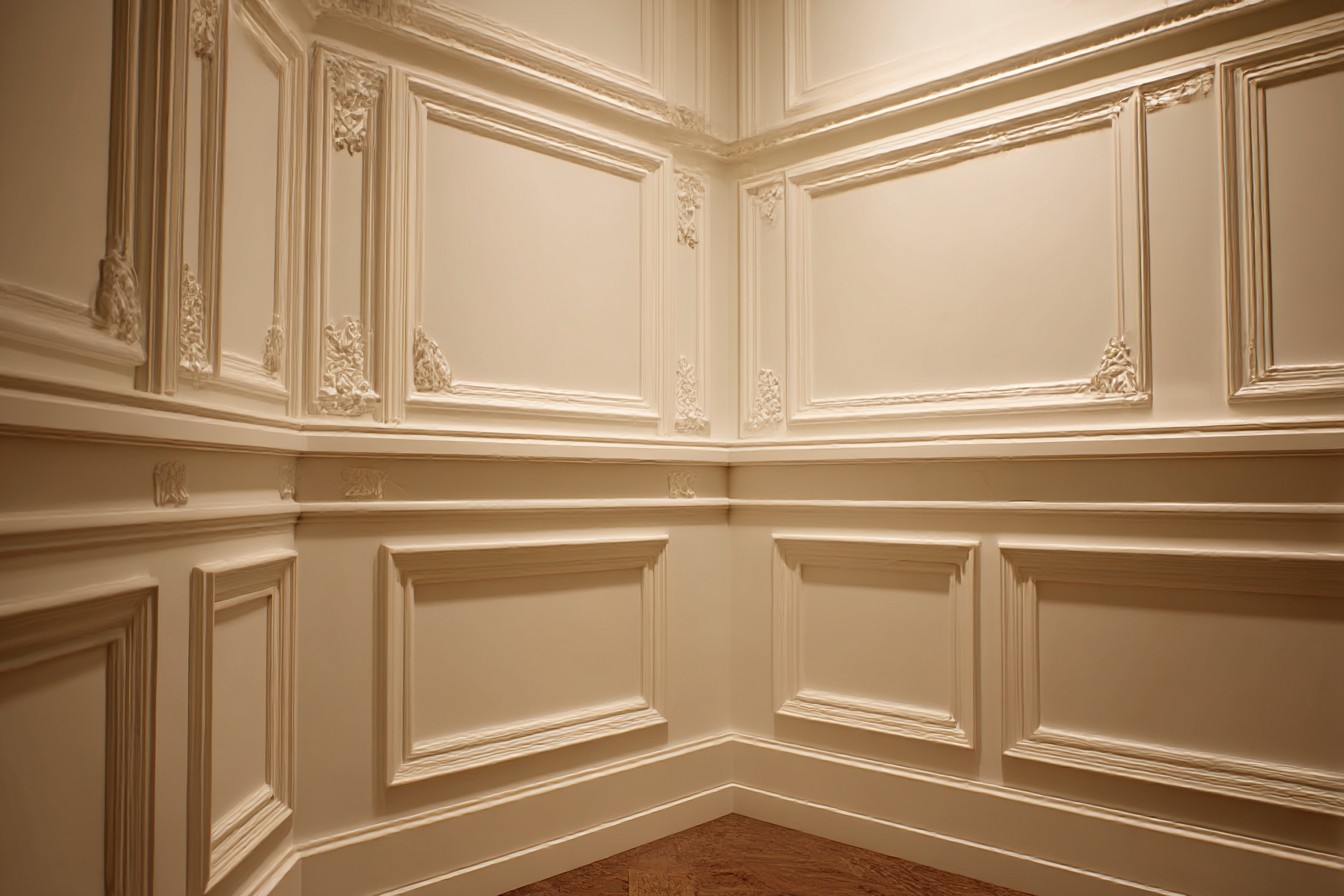
I remember this crazy moment when I totally messed up a bathroom renovation because I lost my mind with wainscoting. It started innocently enough I was having a friend over for dinner at his place, used his downstairs toilet, and then I simply stared at those beautiful wood panels he’d hung. Turned that little toilet into a miniature version of a real English countryside manor house instead of a typical 90’s builder’s abomination.
After that dinner party, I went home and immediately started searching for “bathroom wainscoting” on Google at 11:30 pm. Which, let’s be honest, is a little late to start researching home renovations. Three hours later my girlfriend woke me up when she came into my bedroom to find me browsing Pinterest boards with titles such as “Classic Bathroom Ideas,” “Wainscoting Design Ideas,” and “The Best Wainscoting Panels For Your Bathroom.” She shrugged and headed off to bed. At this point, my girlfriend has experienced many years of watching me become fixated with some aspect of home improvements. She knows that once I’m locked onto a certain type of project, there is virtually nothing she can say to deter me.
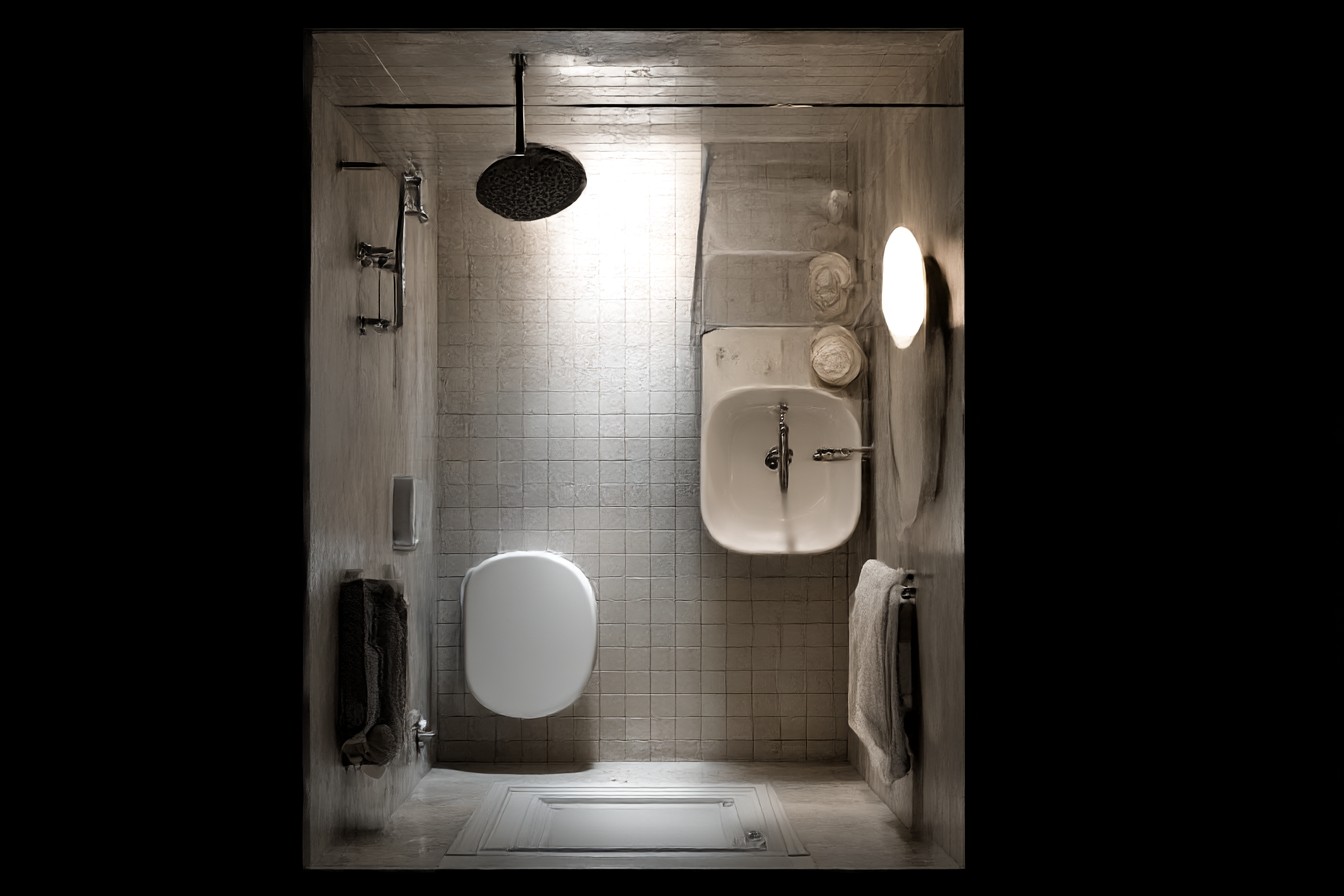
Now, to give you a bit of background, our downstairs bathroom was not exactly the most pleasant place. It had standard 90’s Magnolia paint on the walls and you could see every single mark on them. I am talking water stains, random splatters, fingerprints from visitors who seemed to think that washing their hands was a mystery. We all know that regardless of how clean you keep your home, there seems to always be some kind of mess lingering somewhere in a bathroom. So, I figured, great, installing wainscoting will solve all of my problems. The walls will be protected, it’ll be nice looking, and voila, problem solved. Of course, I was mistaken. I made the common rookie mistake of choosing the cheapest product first. I purchased peel and stick panels from B&Q for 43 pounds. What could possibly go wrong?
The packaging made the whole process seem ridiculously easy. All I needed to do was peel off the backing and slap them against the wall. There were no warnings in the packaging that your walls must be perfectly flat to install these. Our walls, unfortunately, were not flat. This is a Victorian building and none of the walls are square. The panels kept popping off at the edges and created a huge gap that collected dust and looked awful. I persevered with this product for almost two months, constantly pushing the edges of the panels down. After one especially steamy shower, about half of one of the panels curled up like a crumpled up potato chip. That was it, the whole thing had to come down. I spent the entire next Saturday evening scraping glue residue off the walls with a putty knife and cursing myself for spending money on a cheap product.
Round number two consisted of using real wood. I should have done that the first time. I went to the local timber yard and purchased some 1×4 pine boards. I painted them white so they matched the color of the baseboards we have in our flat. Then, I installed them about 36 inches up the wall. The difference was like night and day. It not only looked a heck of a lot better, but it also functioned a heck of a lot better. The area of the wall below where the majority of the splattering occurs, is now protected by proper paint that wipes away easily, instead of seeping deep into the plaster.
Finding the right height for the wainscoting took some experimentation. To be honest, I didn’t do any actual experimenting. I’m not made of money. I mostly held pieces of wood up to the wall at various heights and asked my girlfriend if it was higher or lower. If it was too high, it would chop the room in half. If it was too low, it would look like I was running out of materials. In our relatively small bathroom, 36 inches was the sweet spot. However, I’ve seen it work successfully in larger rooms with high ceilings.
The material selection was important and I learned this the hard way after the disastrous peel and stick debacle. I initially thought about using MDF since it was cheaper than solid wood. However, my father convinced me otherwise. “Moisture and bathrooms don’t mix well with chipboard,” he said. Which, of course, is another way of saying I was an idiot. He was correct. I paid the extra 20 quid for actual wood and it has performed flawlessly for the last 18 months.
When I renovated our upstairs bathroom, I decided to use beadboard panels in a tongue and groove design as opposed to flat panels. A bit more money, but the vertical lines help to create a sense of height, which is helpful when dealing with a room that is essentially a giant closet. I purchased them from a reputable timber merchant rather than the big box store. Better quality wood that does not contain knots in awkward areas.
Installing the beadboard was not difficult once I stopped trying to be creative and actually measured things correctly. On my first attempt, I relied solely on my ability to judge whether or not the boards were level. As it turned out, my ability to judge horizontal lines is pretty poor. I ended up taking down three of the boards and reinstalling them with a proper spirit level, which I probably should have used in the first place.
Something I did not expect was how much easier cleaning became. The bottom section of the wall where the majority of the splattering occurs, can now be wiped down in seconds rather than requiring a serious scrubbing. The semi-gloss paint I used on the beadboard simply wipes off any marks that would have stained the original matte emulsion.
However, I did manage to do one very silly thing. I attempted to paint the entire system in place. Instead of painting the individual panels before installing them, I thought I could save time by painting them all together. What a nightmare. Trying to achieve even coverage on the narrow strips while they’re already attached to the wall was a huge headache. It took me three times longer to paint them all in place versus painting each board separately. The finished product was not nearly as good either. If I ever do this again, I’ll definitely be painting each board individually before attaching them to the wall.
Our guest bathroom received a slightly different treatment. Simple flat panels with thin trim along the edges. I created them by cutting sheets of MDF (Yes, I know I said MDF was a bad idea, but in this case, the bathroom was far better ventilated and I was able to get away with using it.) into rectangular shapes. I painted the entire system the same color as the walls, however I chose to apply a satin finish instead of the matte finish. The slight difference in sheen creates texture without adding any unnecessary embellishments. The total cost for the materials was approximately 50 pounds.
People have certainly noticed the difference. My brother-in-law commented on how professional the job looked and wondered aloud who had done the work. It was a fun feeling considering that my DIY skills are generally the subject of family jokes. The downstairs bathroom feels like an entirely new room. It’s still small, but I’ve intentionally made it small. It’s no longer a neglected area.
About six months after completing the projects, my nephew visited us for a week-long stint during school holidays. Teenagers and bathrooms are a toxic combination. By the end of the week, the beadboard was spotless, but the wall above it still bore evidence of his presence. That was the moment when I realized this wasn’t just about beautifying the space. It was actually making my life easier.
If I were to do this again, I would skip all of the cheap products and go directly to the best materials available. Additionally, I would purchase a proper mitre saw from the start of the project rather than trying to make accurate cuts with a hand saw. Finally, I would use a level from the very beginning rather than attempting to eyeball straight lines.
The total cost for materials was approximately 180 pounds. The total time required to complete the project was approximately three weekends. Both bathrooms have been completely transformed. Not bad for a person who had previously only completed a few basic carpentry tasks such as hanging IKEA shelves and hoping they wouldn’t fall.