My contractor looked at me like I had lost my mind. “Do you really want to paint the whole bathroom that color?” He was holding up the sample chip of a deep forest green that looked almost black in some lighting conditions. I had agonised for three weeks whether to choose bold in my tiny guest bathroom and now here we were staring at what appeared to be the interior of a pine forest.
“Trust me,” I said, although I wouldn’t have blamed anyone if they didn’t trust me.
It has now been eighteen months since I painted my guest bathroom a deep forest green and I am confident that it is one of the greatest design risks I’ve ever taken. However, getting there turning dark green into a beautiful bathroom without creating a cave-like dungeon required significant trial and error. Additionally, I experienced a few panicked moments where I wondered if I could have simply chosen the safe option, white subway tiles, like everybody else.
Dark green in bathrooms is currently experiencing a huge resurgence, however, many of the inspirational images you find online appear to be either enormous spa-like rooms with floor-to-ceiling windows or they’re so staged, you can’t determine how they will perform. My bathroom measures approximately six by eight feet. There is no natural light. The type of space where one wrong decision can turn ‘moody’ and ‘sophisticated’ into ‘accidentally gothic.’
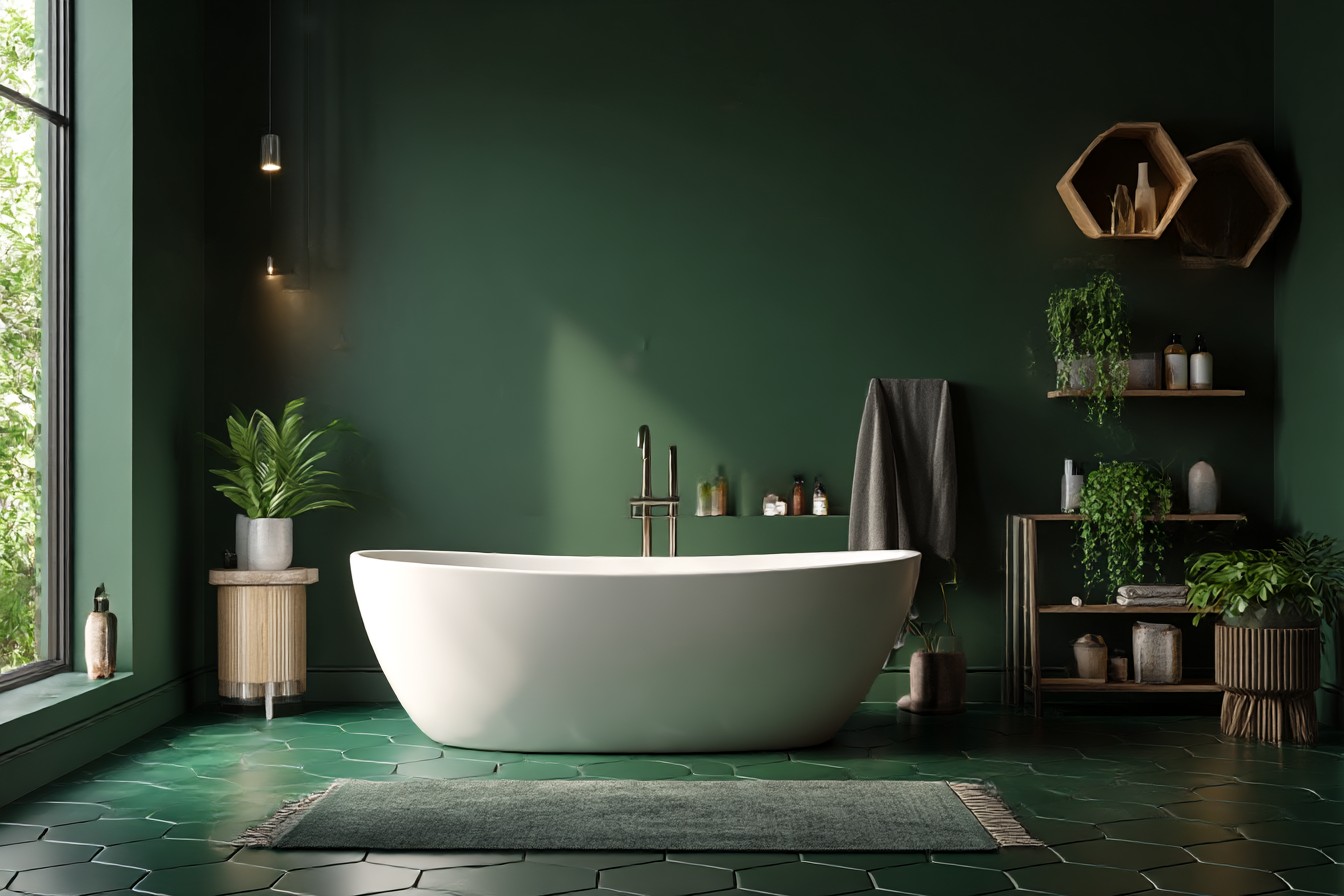
I began painting the walls as, quite frankly, if I was going to take this risk, I wanted to see how the color would behave in the space. I selected a deep, emerald green with sufficient blue undertones to prevent the color from appearing dirty. If you’re interested, the color I used was Benjamin Moore’s Hunter Green. The finish was critical in this regard. I elected to use an eggshell finish rather than matte, due to the necessity of being able to clean the bathroom. I avoided using satin as it tends to look too shiny and cheap under artificial lighting.
The first coat applied and I immediately panicked. The color was extremely dark. Extremely. Vampire-lair dark. When my partner entered the room and merely said, “Oh,” I realized that wasn’t something I wanted to hear during a renovation.
Here is what I discovered about working with deep colors in small spaces they require multiple layers of light to appear effectively. A single overhead fixture would not suffice. In addition to the overhead fixture, I installed wall sconces on either side of the mirror (using warm LED bulbs, 2700K) and underneath the floating vanity. Installing LED strip lighting under the floating vanity was a game changer. While it may sound pretentious, installing LED strip lighting was a $40 addition from Amazon that uses a regular outlet.
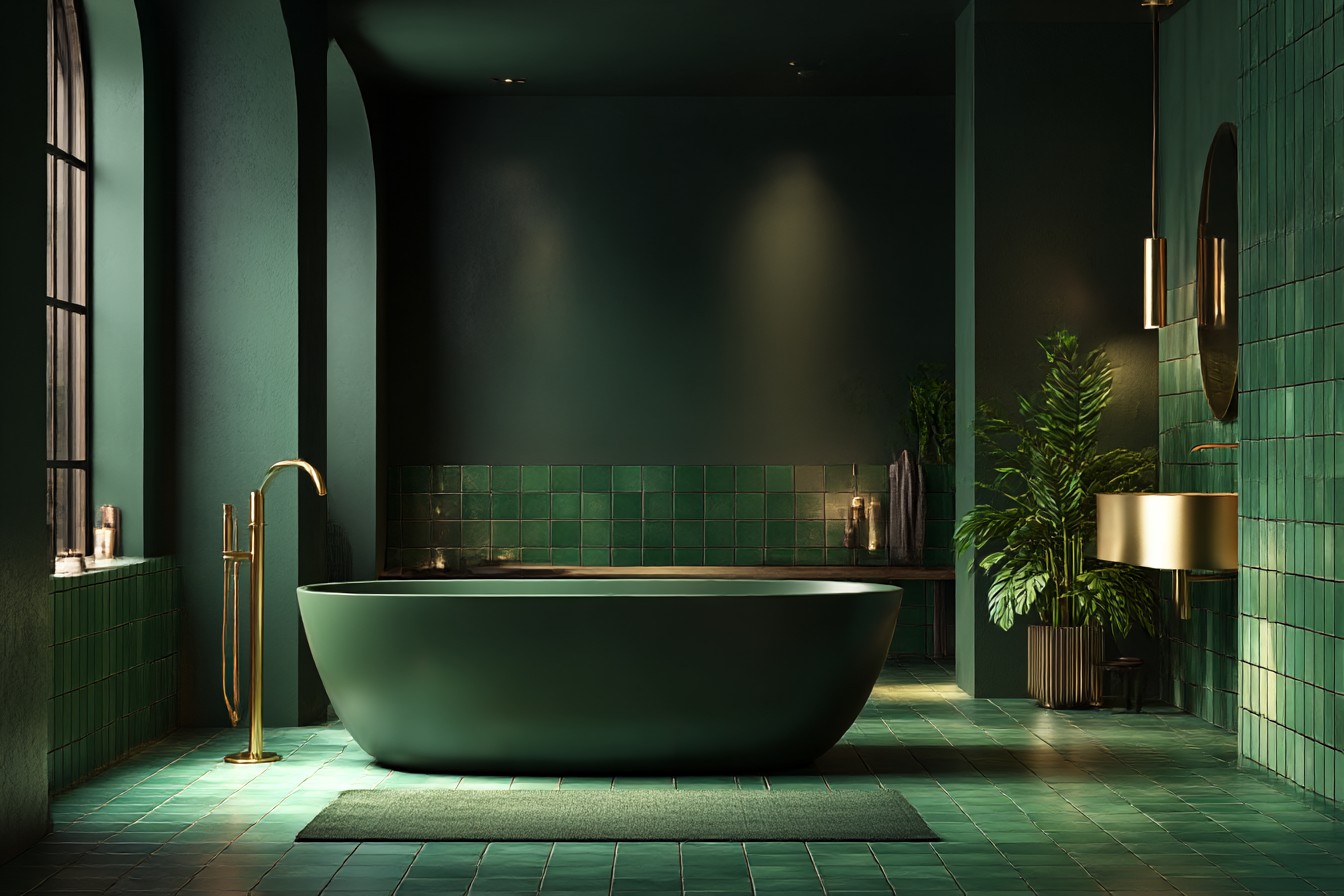
The indirect lighting dramatically altered how the green color behaved. Rather than consuming all of the available light, the color began to radiate. Rich. Jewel-like. Exactly as I had envisioned.
The next issue was determining what color to combine with the green. I rejected white as it seemed too harsh and cream as it appeared too yellow. Ultimately, I chose to use warm brass fixtures. Warm brass fixtures included the faucet, towel bar, light fixtures, and even the toilet paper holder. Combining brass with dark green creates a beautiful vintage/contemporary look. Furthermore, brass conceals water spots better than chrome does, which is important when attempting to create a sophisticated appearance.
In terms of flooring, I selected large format grey porcelain tiles in a concrete style. I know this may seem counterintuitive, however, grey can appear cold. Against the rich green walls, the grey tiles appear to be nearly charcoal, and the large format tiles (60 x 60 cm) contribute to the space appearing less compartmentalized than smaller tiles would. The key was selecting a tile with subtle texture completely smooth tiles would have created a sterile appearance.
When I decided to become bold in the shower, I did not follow the conventional advice of attempting to lighten the space with white subway tiles. I doubled-down. I installed dark green zellige tiles from floor to ceiling. The zellige tiles were imported from Morocco, and are handmade with an irregular surface that catches the light differently based upon the angle. The tiles were certainly expensive. Approximately £85 per square meter. However, I only needed to purchase enough tiles to cover the shower area. Consequently, the investment was deemed worthwhile.
As you might expect, installing those tiles was…an experience. Zellige is notorious for its difficulty in installation because each tile differs in size and thickness. My tiler (a different person than the contractor that questioned my color selection) expressed gratitude to me after completing the job. He stated that it was the most enjoyable project he had completed in months. The handmade nature of the tiles provides a unique organic, cave-like quality to the entire shower area. However, in this case, the effect is positive.
Selecting storage units for a bold wall color was challenging. As previously mentioned, I rejected white shelving as it appeared too stark. Wood shelving felt too rustic. I eventually located floating black metal shelves with a matte finish. The shelves essentially blend into the background against the green walls. The key to success was keeping the number of items on display to a minimum. All other items are stored in the drawers of the vanity.
Regarding the vanity, I opted to create a custom unit as standard sizes would not fit in the space. The local carpenter constructed the vanity in white oak, and finished it with a natural oil. To be honest, the warm tone of the wood adds a cohesive element to the entire room. The wood helps to connect the rich green walls and the brass fixtures without causing the space to feel overly precious.
The mirror was also a deliberate choice. I refused to select a standard rectangular mirror, which would have appeared uninteresting against such a dramatic backdrop. I located a round, brass framed mirror with an antiquated finish. It’s a little different than traditional mirrors, but it appears to be intentional rather than unusual.
Using a dark green bathroom has been…exactly as luxurious as I imagined. Showering in the morning feels as if I’m entering a high-end hotel. Bathing in the evening (there is a small tub in the corner of the room) feels truly rejuvenating. The color of the walls changes based on the light. Some times the walls appear nearly black, while others they reveal these wonderful blue-green depths.
While I had initially feared the maintenance would be a nightmare, it’s not. The eggshell paint cleans easily. The brass develops a nice patina over time, rather than becoming tarnished. The handmade zellige tiles are surprisingly resilient to soap scum buildup.
Would I repeat the process? Without hesitation. However, I would likely opt to spend more money on the paint primer from the start and avoid applying three coats. I would also ensure I double check my measurements prior to placing orders for the custom vanity dimensions. Apparently, I am unable to accurately read a tape measure after 6 PM. Who knew?
The total cost of the project was approximately £2800. This seems like a considerable sum of money until you realize that the majority of that cost was the custom vanity and the Moroccan tiles. The paint, fixtures, and lighting combined to cost less than £400. At times the largest aesthetic impact can result from taking the bolder decisions, rather than the more expensive.