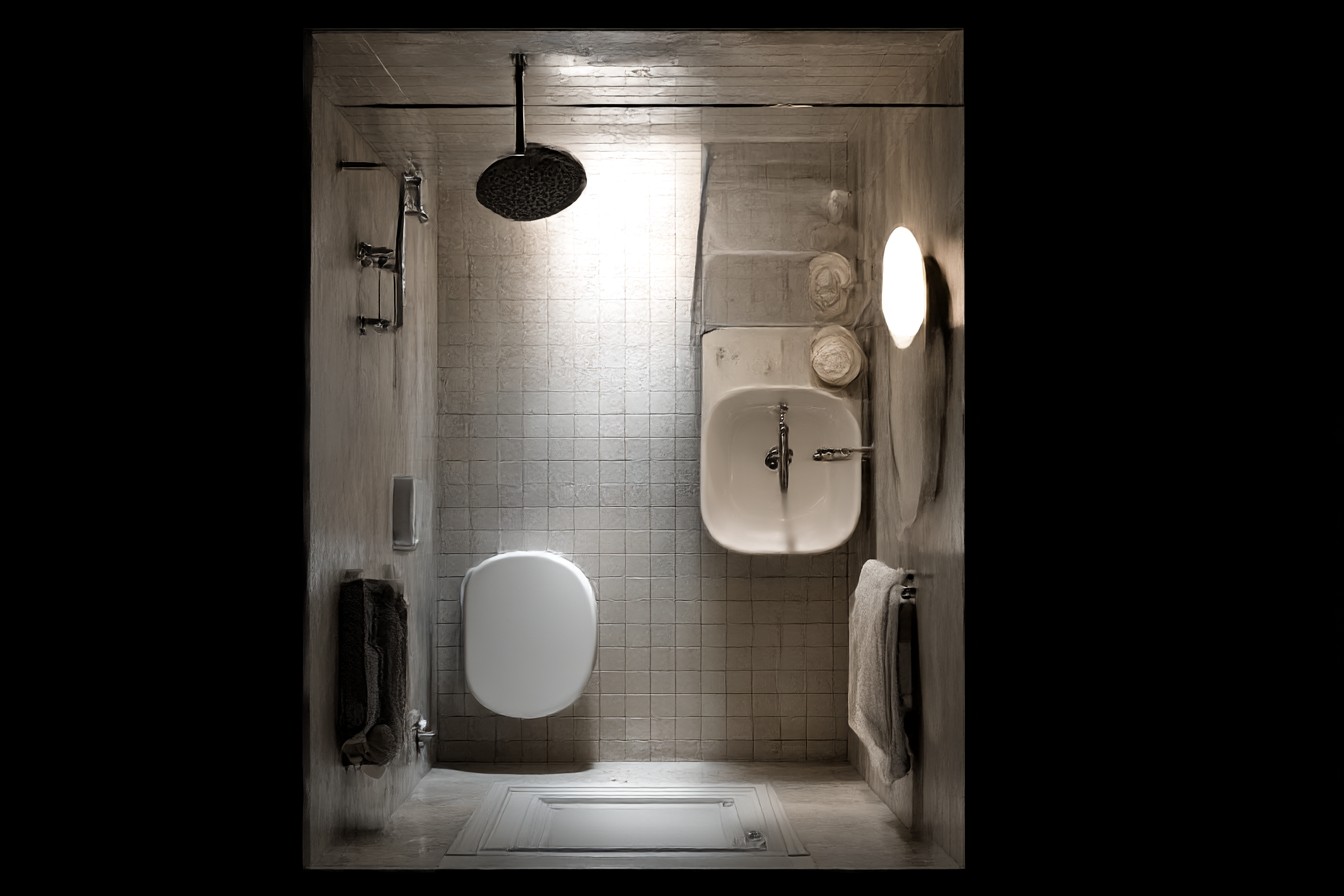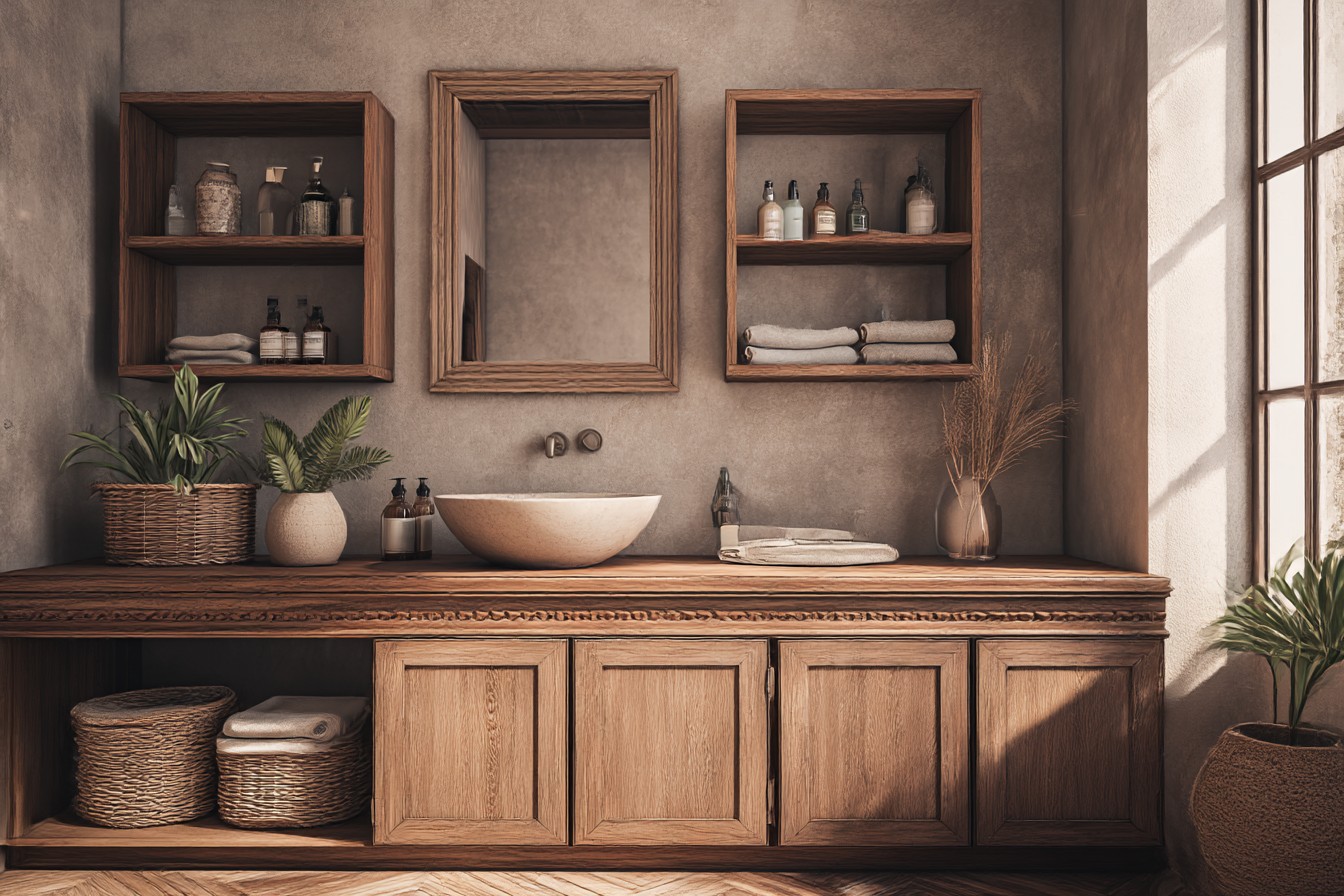
It was about half six on a Tuesday morning. I was in the bathroom brushing my teeth. Then it clicked. The room looked a little odd. Not dirty. Just not done. I’d painted the walls this lovely soft grey, found a great white oak vanity (love that second-hand find) — yet something was off. You know that feeling when you get dressed okay and then realize you forgot your watch. That’s the exact same feeling I got looking at this bathroom.
What was off was the trim. More specifically, the lack of trim. I’d been living with the worst builder grade trash for three years without giving it much thought. The skirting boards were horrible. They looked like someone just used whatever off-cuts they had laying around. Thin, plain, forgettable. There was no coving. The window casings were almost nonexistent. And the door frame was just there. Did its job, but contributed nothing to the space’s personality. Here’s what took me way too long to understand about trim. Trim is literally like the frame around a picture. When it’s done right, you barely even notice it. When it’s done wrong or absent altogether, the entire thing looks cheap and unfinished. Great trim can make even the most basic of things look like they were intended to be that way and like they cost money. Terrible trim can make it look like a rental house no one cares about.
I started small because let’s be real, I couldn’t afford to rip the entire bathroom apart. But I could certainly fix those god-awful skirting boards. Spent hours walking around B&Q, Wickes, and this little local lumberyard, snapping pictures of the many different trim profiles on my phone like some kind of trim psycho. Finally settled on something simple but substantial. About 5″ tall. With a subtle arc at the top. Simple. Yet it had the “oomph.”
Installing it myself was a wild ride. First mitre cut looked like I hacked at the trim with a cheese grater. Second attempt wasn’t much better. Think I tried about 7 times before I was able to do joints that needed minimal wood glue and a healthy dose of hope. Buy WAY more trim than you think you’ll need. You WILL mess it up. Many. Times.
However, the effect it had on my mind was huge. The floor now looked like it was supposed to be there, not just happen to exist. The walls looked taller. The whole space looked finished. Like someone with an actual eye for style had been involved in the construction of this space. For $60 of lumber and a weekend of occasionally yelling at my mitre saw, I had made my bathroom look like it cost way more than it did.
Next up was crown molding. However, I’ll be honest, I was pretty terrified of it. Where the ceiling meets the interior corner – those areas are apparently designed to humiliate people like me who think they are handy with tools. However, I had learned something very valuable from my skirting board project. Great trim does NOT have to be complicated. Sometimes the least complicated profiles work best, especially when working within a small space.
So I opted for simple coving – probably about 3 inches wide. Enough detail to give some nice shadows, but not so much that it overpowers the room. I also figured out the importance of proportion. Proportion is CRUCIAL. In my teeny-tiny bathroom, anything too large would have looked comically oversized, like wearing a giant parka in July. Anything too narrow would have simply disappeared, which would defeat the purpose.
Installation was a heck of a lot easier this time around. Mostly because I had learned how to properly operate a mitre saw, and mostly because I had spent money on a quality mitre block instead of guessing angles with a hand saw (seriously, what was I thinking). Each piece went up, and I could see the room transform into a space that belonged in one of those design magazines I had been researching for inspiration.
Window casings though – that is what really changed the game. My bathroom window had been sitting there like an afterthought, just a plain hole with the thinnest, most basic trim you’ve ever seen. When I installed wider, more substantial casings that matched the new skirting boards, the window turned from a hole in the wall into a legitimate focal point.
To get the proportions correct here was critical. Made the window casing a tad wider than what I was going to do for the door, but the profiles were virtually identical so it all looked cohesive without matching too closely. The additional width lends the window greater visual mass in the room, which makes sense since that is where all the natural light comes from.
Did the same with the door casings. I’ve always believed that doors should appear to fit inside their frames, not as though they were shoved through an opening and held in place with whatever trim was cheaper. Wider casings provide the whole doorway with a sense of substance, a sense of architecture. They properly frame the opening and tie in visually with the rest of the room.
Paint – this is where I see a lot of folks really mess things up. Your beautiful new trim deserves better than the leftover emulsion you have lying around. I found this out the hard way when I initially painted everything the same color as the walls. Completely wiped out all my beautiful, precise trim work. May as well have not bothered.
White trim is a classic for good reason. White trim creates clean lines. White trim brightens rooms. White trim goes with just about any wall color. However, the type of white is somewhat significant. I personally prefer a slightly warmer white over that awful, cold builders white everyone sees everywhere. Looks more refined. Less like a hospital.
Semi-gloss is the way to go for bathroom trim. Semi-gloss is far better at handling water/moisture than matte paint. Easy to wipe down when it gets dirty. Sufficient sheen to help the trim pop out against your wall finish. Yes, it will show each brush stroke if you’re not careful. That’s why I use foam rollers and do prep work.
What is crazy is how upgrading the trim made everything else in the bathroom look better. My mirror looked more expensive. My light fixtures looked more thoughtfully chosen. Heck, my towels looked more deliberately placed on their hooks instead of just thrown there.
Caulk is totally, totally important here. Perfect caulking. Every single gap between trim and walls, trim and ceiling, trim and floor has to be sealed perfectly. It is super boring work. Stood there with my caulk gun making sure every seam was perfectly smoothed out and consistent. It is the difference between a professionally done job and an amateurish disaster.
The whole project cost under $200. Took approximately 3 weekends. Not due to difficulty. Due to my slowness. Methodicalness. Due to me constantly pausing to admire what I’d accomplished. Which I highly recommend. Take time to enjoy your own accomplishments.
Looking back at the bathroom, I cannot believe I tolerated the subpar contractor trim for as long as I did. The space feels polished. Intentional. Expensive. Friends who come to visit comment on how professional the renovation looks. Ask who did the work. I just smile. And remember those weekend mornings with my mitre saw. Swearing at the stupid angles. Celebrating when the joints fit together.